Menu for registered users
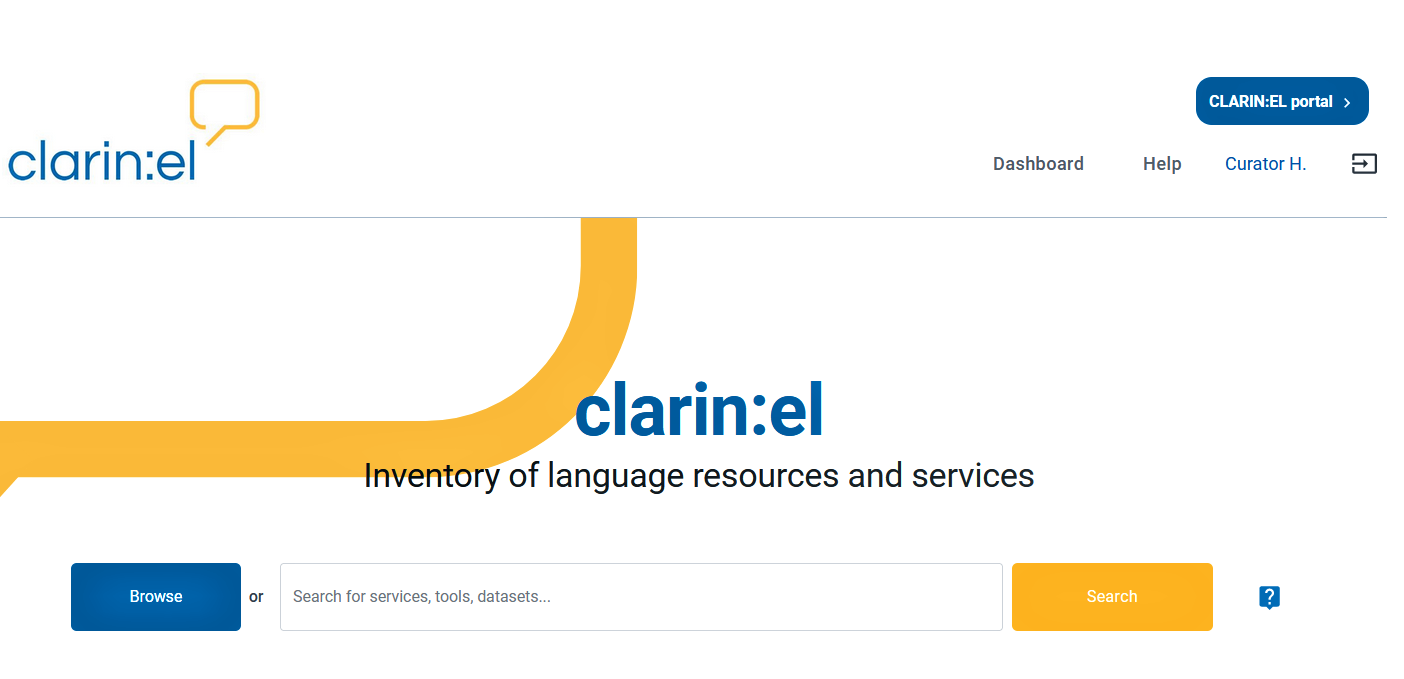
After you have signed in, the menu offers five options:
CLARIN:EL portal: a link to the infrastructure portal, where you can find information about the network, news and announcements;
Dashboard: a link to your personalized dashboard, serving as an access point to the metadata editor 1, the resources you have created, your tasks and processing jobs.
Help: a link to the infrastructure documentation and guidelines (this document), where you can learn how to navigate, create and manage resources, etc.;
Your name: a link to your profile, which you can edit.
Exit: an icon to log out.
- 1
Henceforth editor.
Dashboard
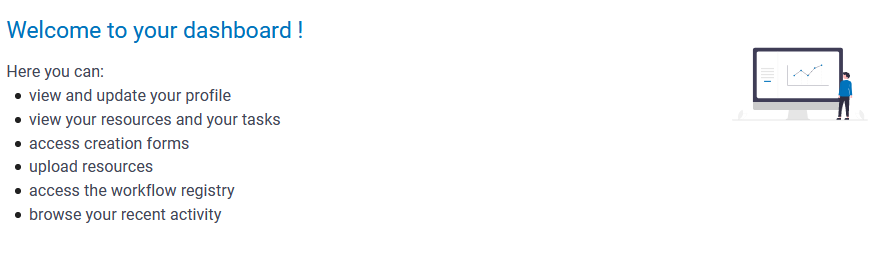
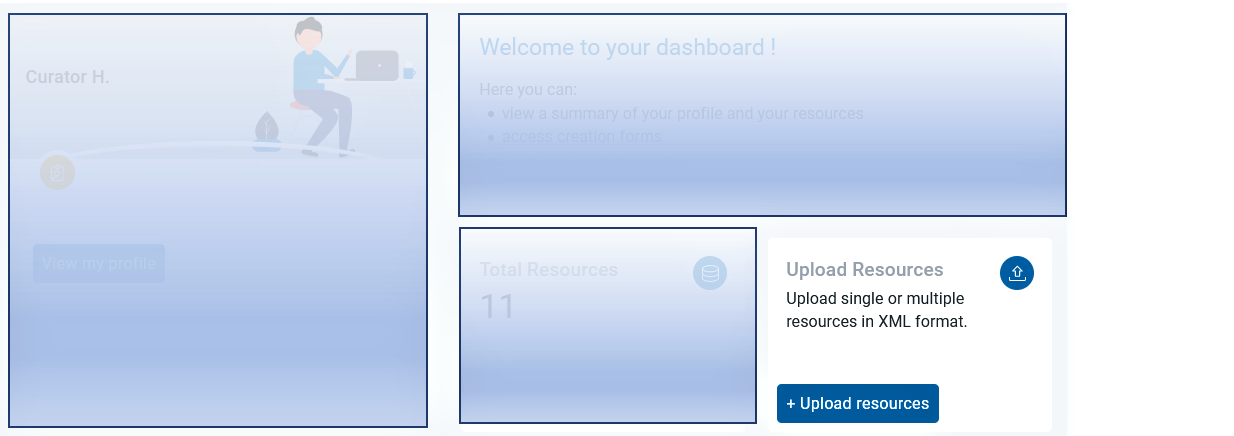
The Dashboard serves both as an overview page for your activities (where you can find information on your resources, tasks, processing jobs) and an entry point to create resources and use workflows to process resources. As shown below, it contains nine different sections. Sections 2 and 7-9 are slightly different depending on your role.

Tip
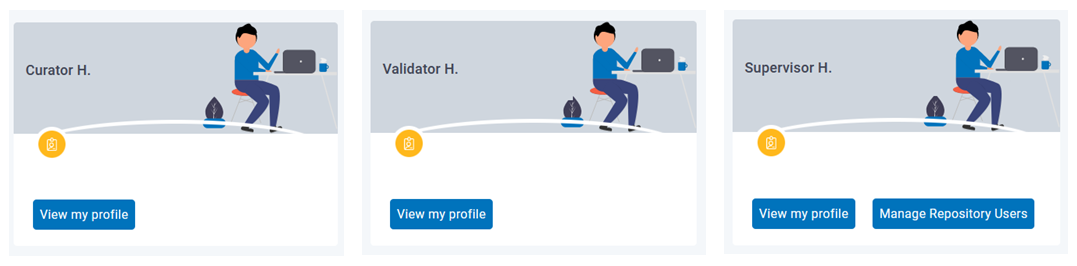
See here how the dashboard looks for a curator, a validator and a supervisor.
2. Profile
The second section is dedicated to your profile. For supervisors there is an extra functionality, namely Manage Repository Users, as shown below.
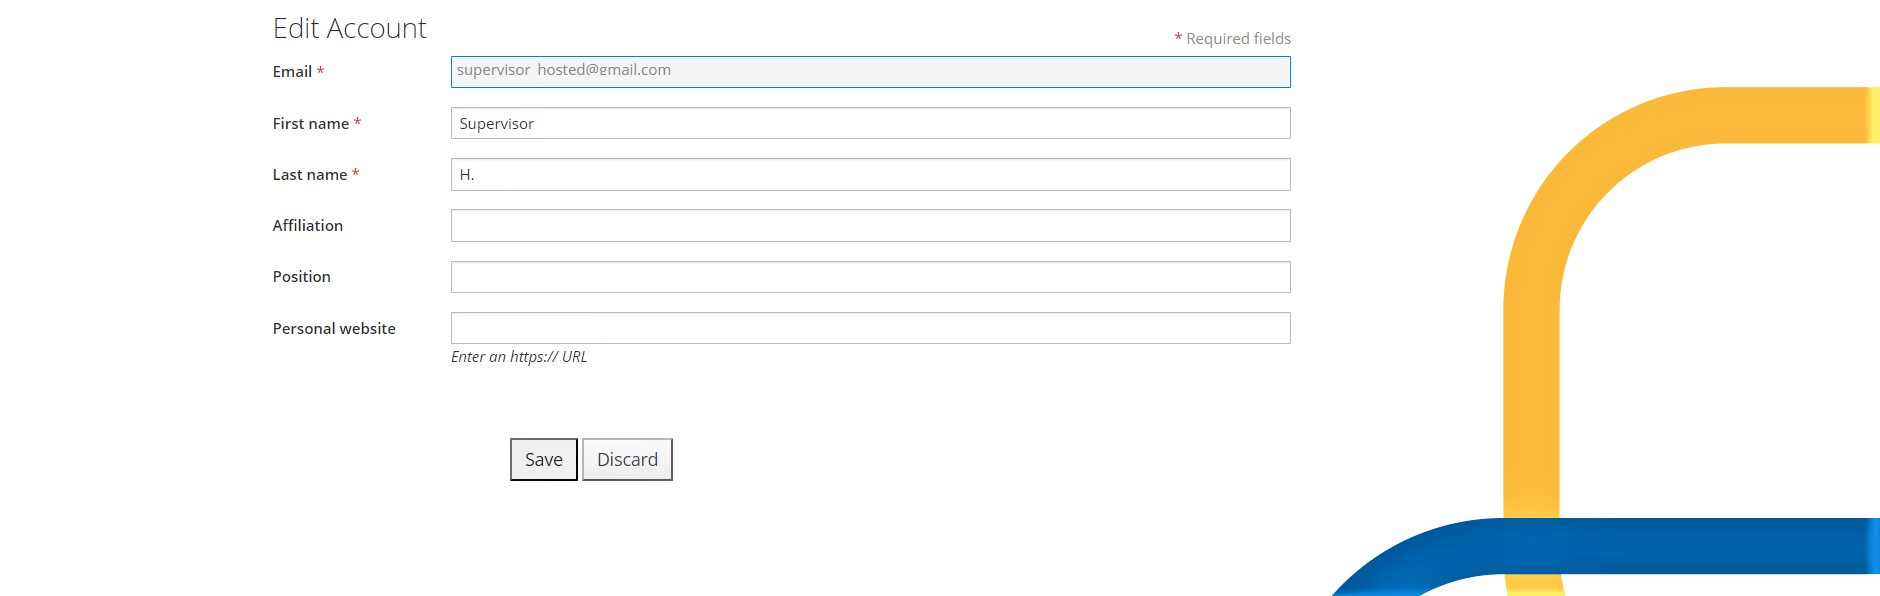
If you click on View my profile, you will be directed to a new page.
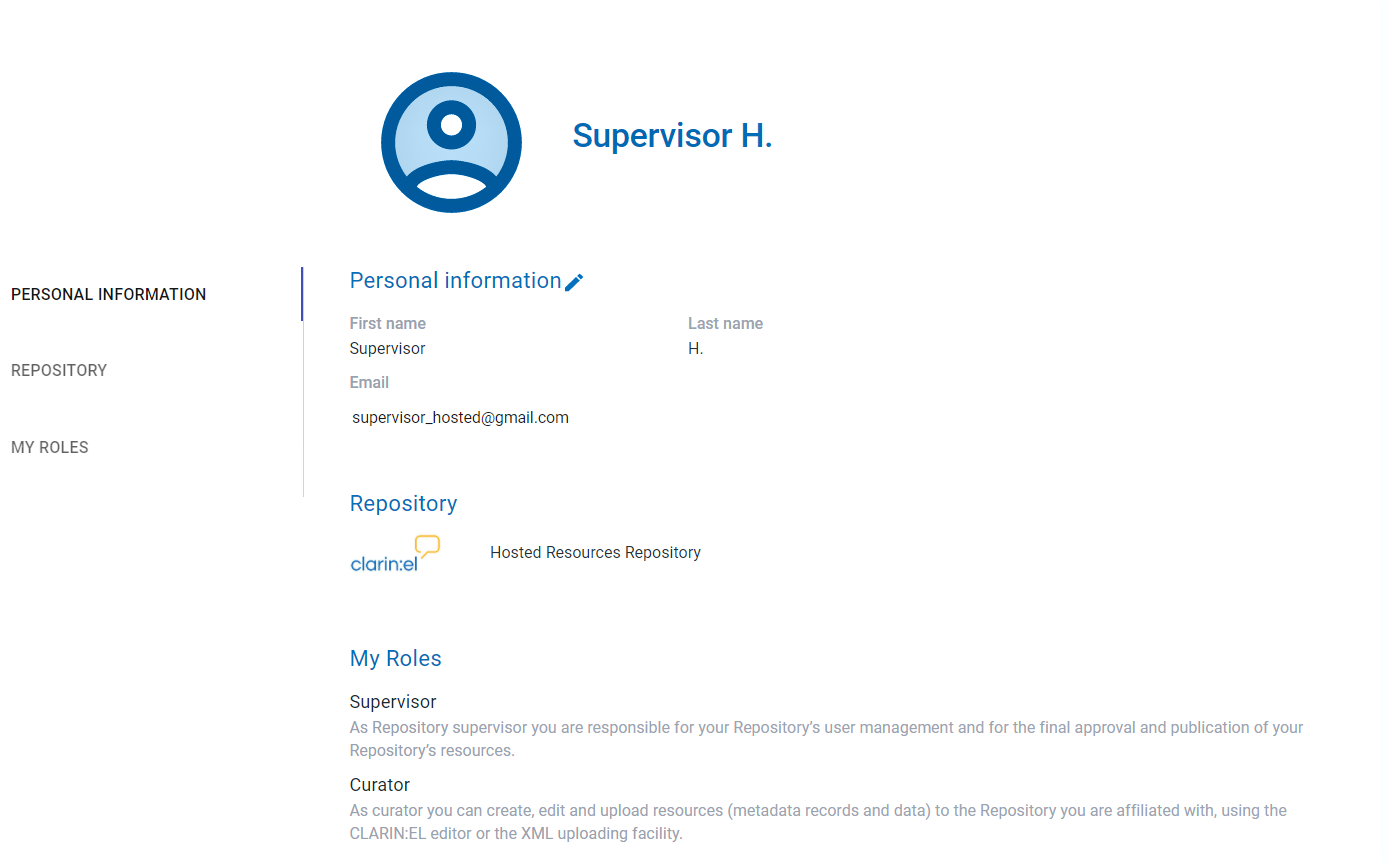
Some of your personal information is editable 2. Click on the pencil symbol next to Personal information and you will be directed to a new page where you can edit your personal data. After you have filled in the fields, save your changes.
- 2
You cannot change the repository you are affiliated with, since this is done automatically during your registration or the roles you have, which have been assigned to you by the supervisor.
User management
Attention
This functionality is available only to supervisors.
If you click on Manage Repository Users, you will be directed to a page where all the users of your repository are listed. You can search for a specific user by using the search box on top. Once you have found the user, you must select the box on the left of the user’s name.
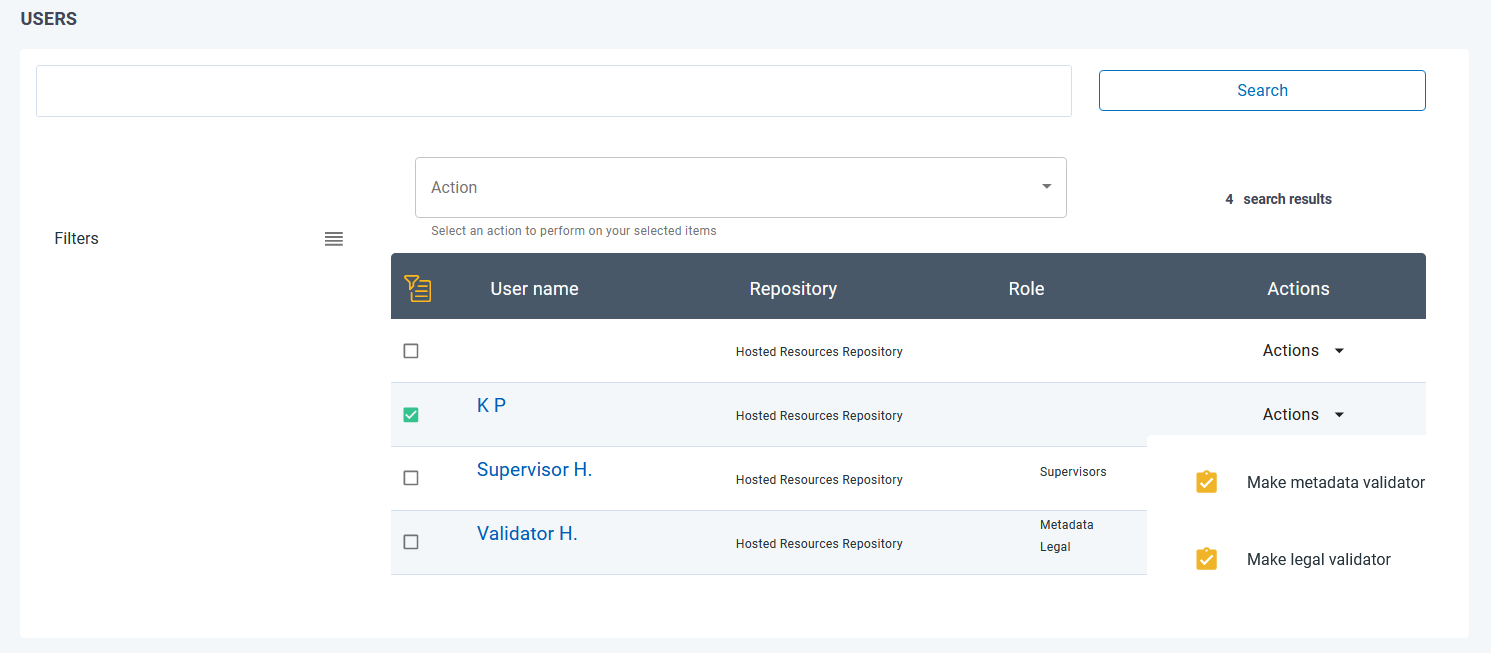
Then you are provided with two actions to choose from: you can make the user a legal or a metadata validator. The same action can be also performed from the action box on the top of the user list. Whatever you choose, a new window will open asking you to confirm your decision.

By clicking on make legal validator you are giving the selected user permission to validate resources.
3. Create resources
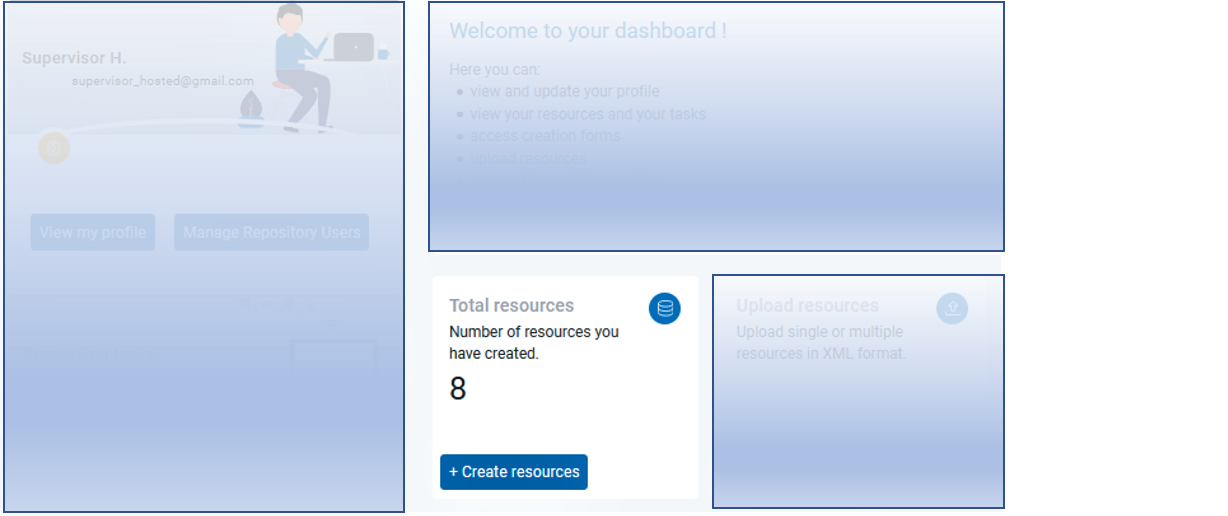
In this section you see the total number of the resources you have created, but not the resources themselves 3. By clicking on + Create resources, you are transferred to a new page where you have to select the type of resource you wish to create.
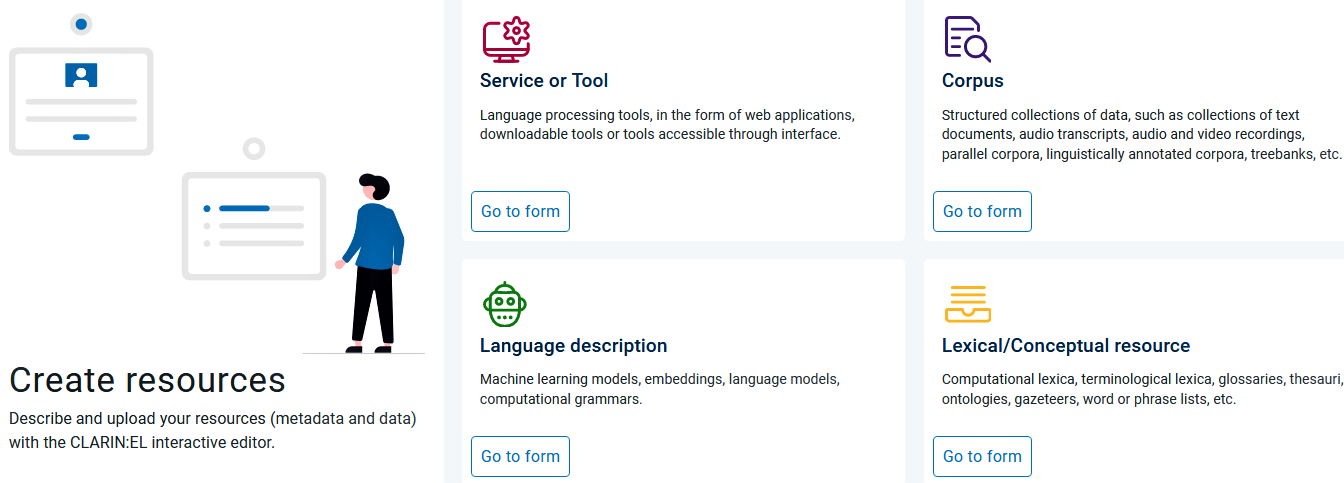
Before you proceed to the editor by clicking Go to form, please, see the guidelines for the creation of
using the schema mandatory elements.
- 3
The section My resources has a list with what you have created.
4. Upload resources
You can click on + Upload resources if you already have one (or more) description/s in XML format. A new window will open where you are provided with several options. To find out more, see here.
5. Select workflow
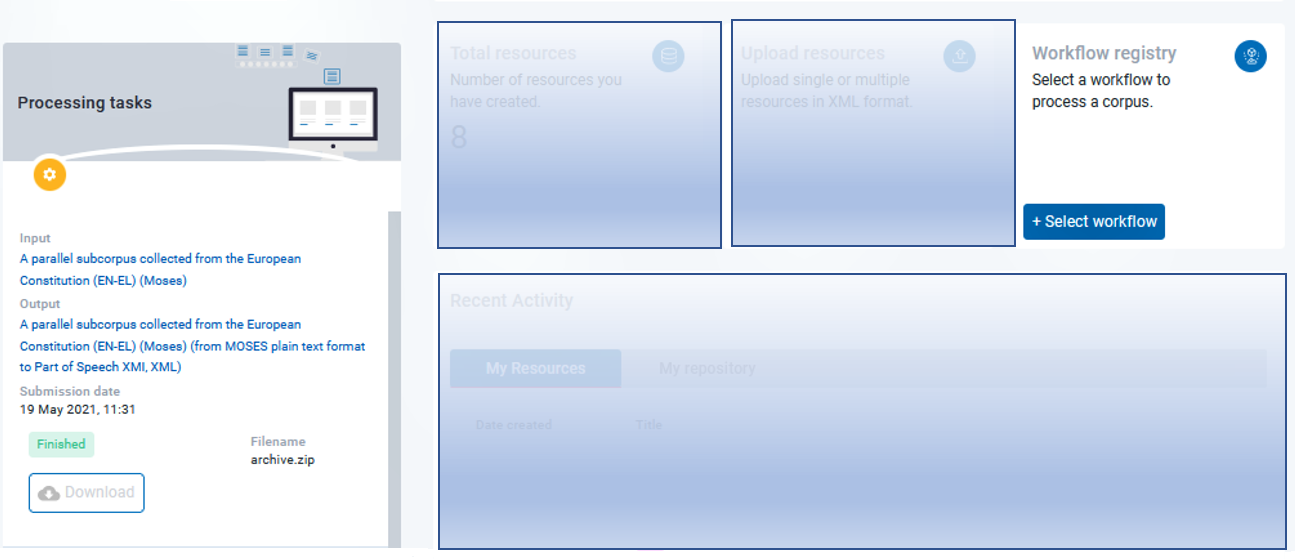
By clicking on + Select workflow you are transferred to the workflow registry. See here what the available services can do.
6. Processing Tasks
In this section you can see all your processing tasks and their results.
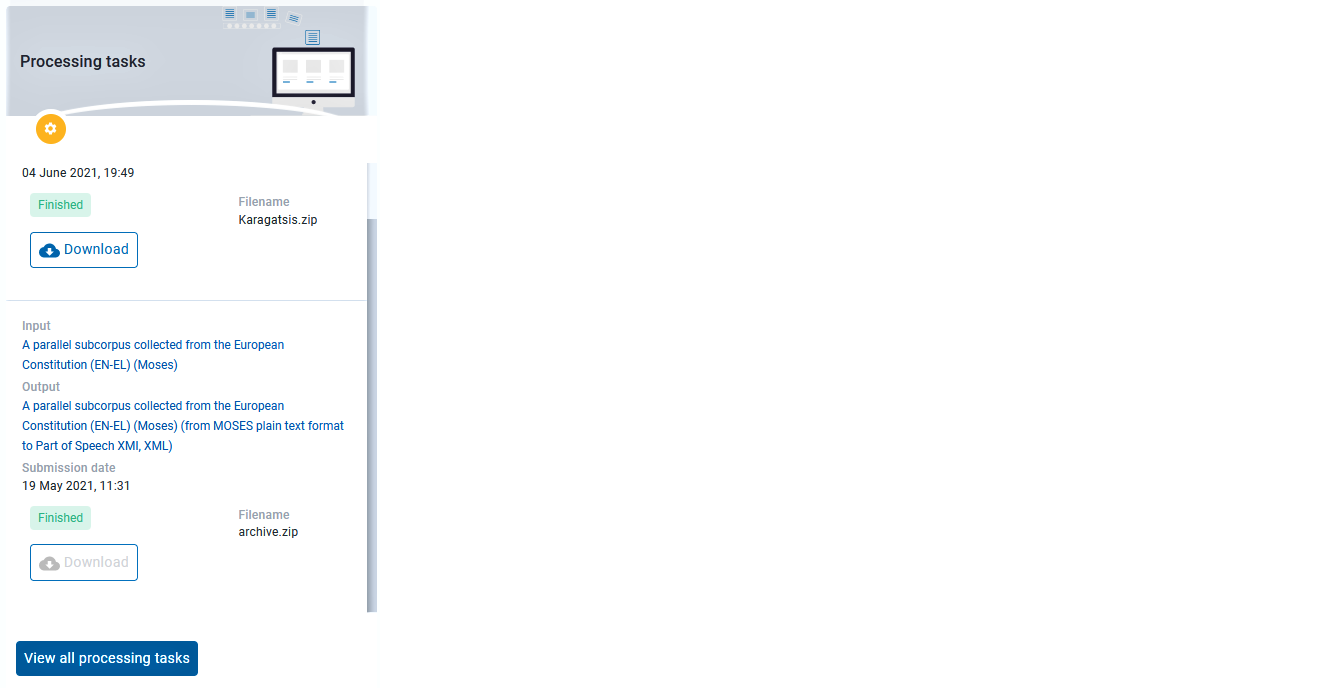
You can directly download the files that have been successfully processed from here. If you wish to have an overview, click on View all processing tasks.

Your submitted processing tasks are presented in a table organized in six columns:
the first one contains the name of the input resource, provided you have selected it from the processable corpora available through CLARIN:EL; if you have uploaded your own resource, the column is empty,
the second has the name of the zipped file; all the infrastructure processable corpora come in an archive.zip,
the third contains the name of the output based on the name of the input; again if there was no input name, the column is empty,
the fourth is the submission date,
the fifth is the status of the processing, and
the sixth is the download button.
7. My resources
This section, contains all the resources you have created via the editor or XML upload.
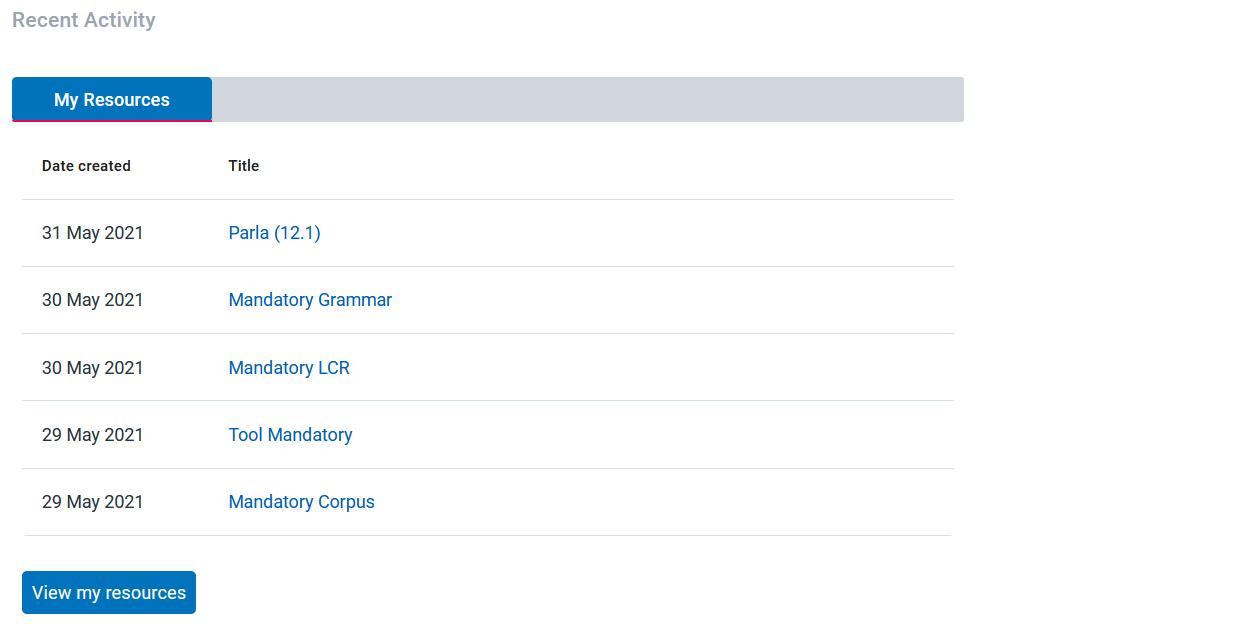
You can either select a resource by clicking on its name or, if you wish to have an overview of all the resources, you can click on View my resources.
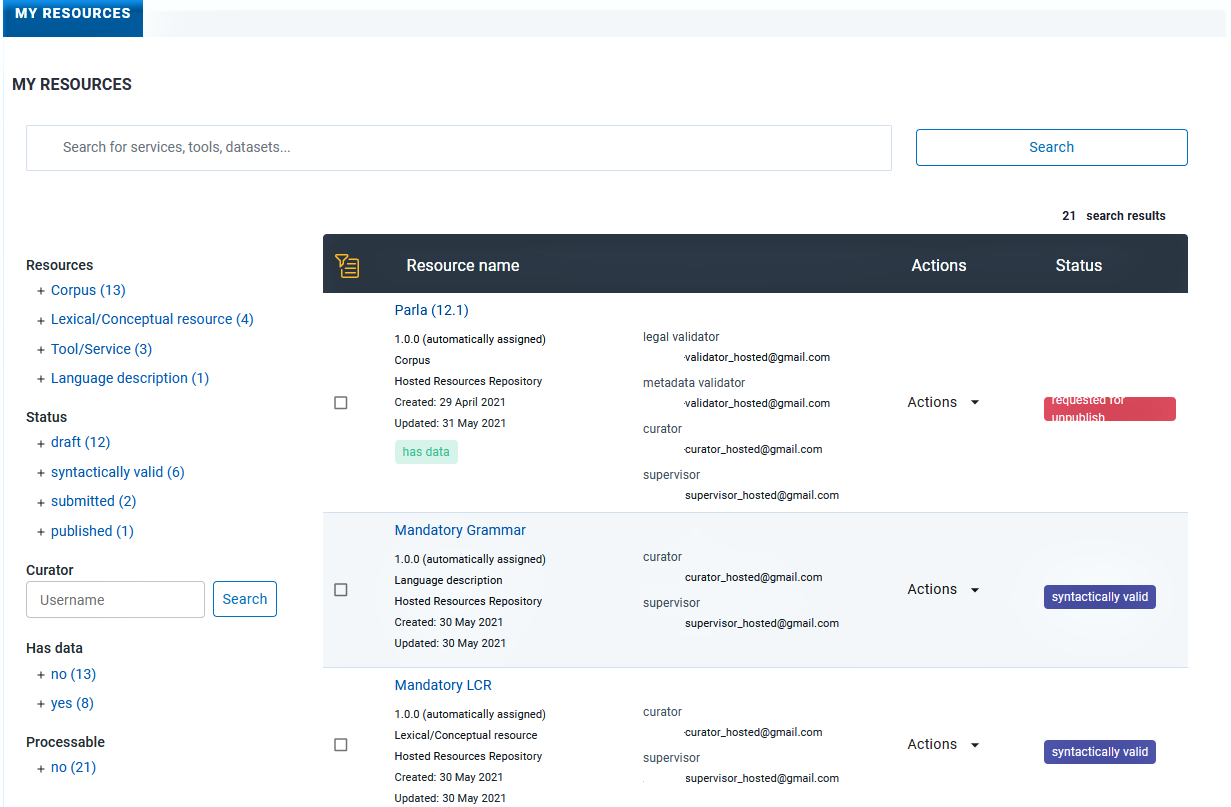
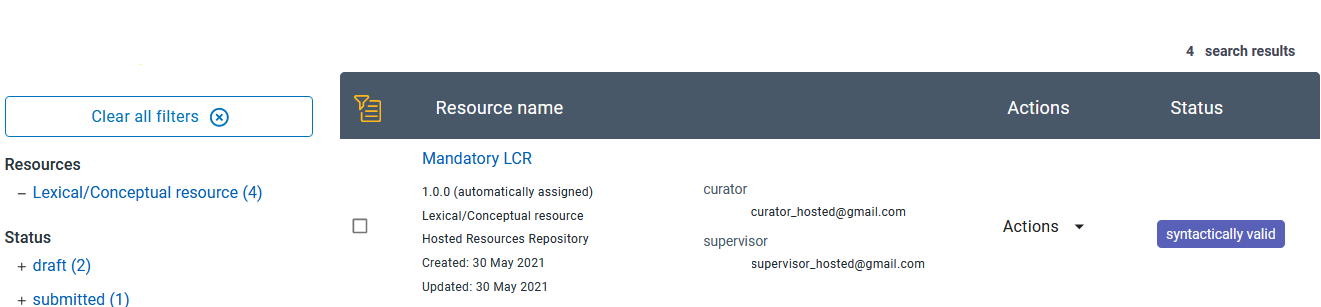
In this page, on the left, there are filters to help you sort out the resources depending on their type, status, data or processability. You can apply as many filters as you like and then clear them by clicking on the button above them.
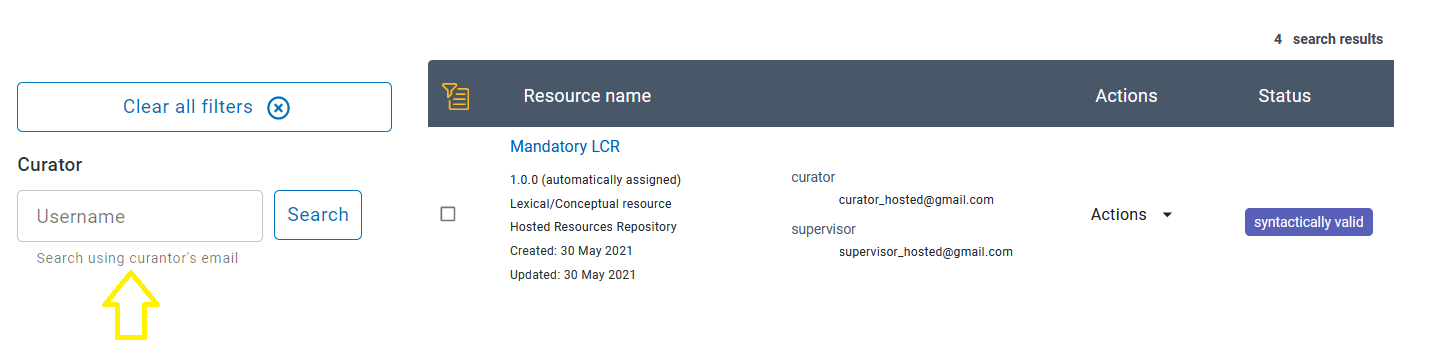
Note
As a supervisor you will also see a search box for curators. Use the email of a curator to find only the resources created by them.
As you can see, each resource occupies a row separated in four columns:
the first, provides some basic information on the resource,
the second, presents the name of the curator, supervisor and validator (if the resource has been validated),
the third, has a button for the available actions, and
the fourth is the resource status.
To learn more about the actions you can perform on a resource see here.
8. Validation tasks
Attention
This section is visible only to validators.
Here you can see the list of all the resources that have been assigned to you for validation. You can select a resource by clicking on its name; you will be transferred to its view page. In case you have already validated this resource, a pop up message will inform you that you no longer have rights on it.
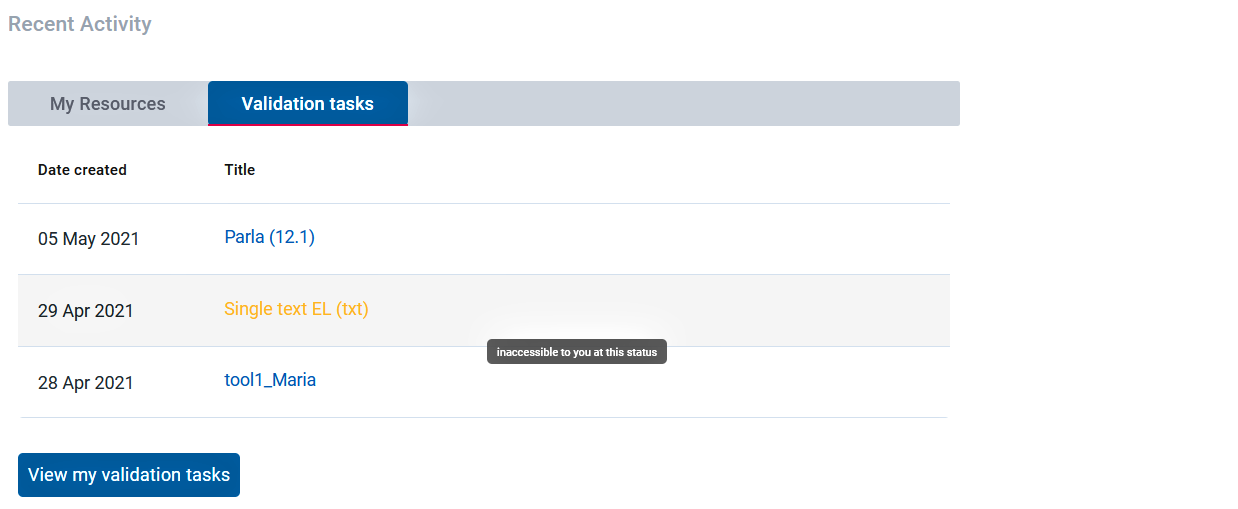
If you wish to have an overview of all the resources under validation (completed or not), you can click on View my validation tasks.
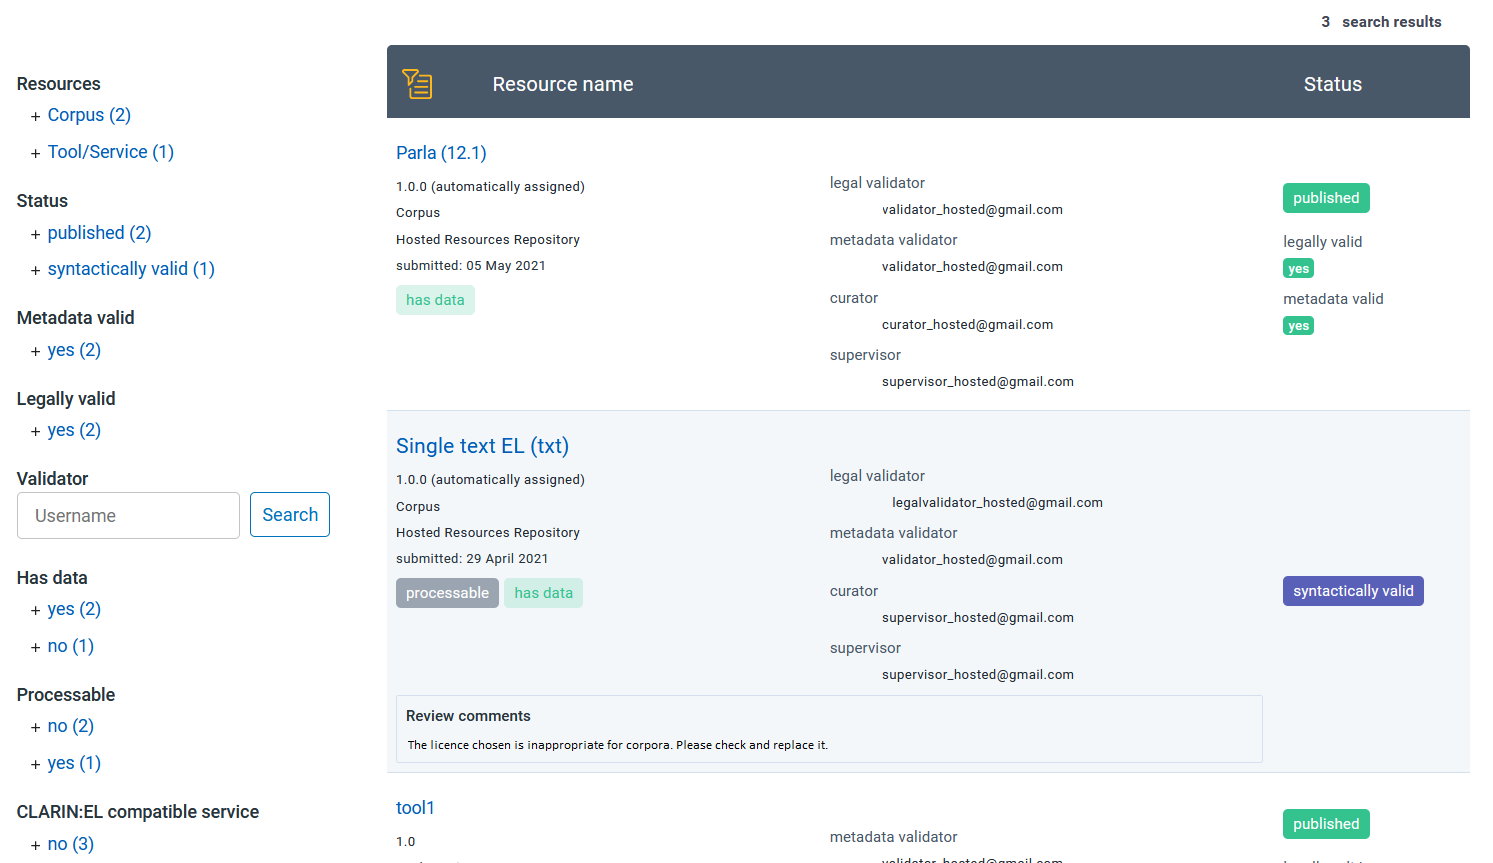
In this page, on the left, there are filters to help you sort out the resources. You can apply as many filters as you like and then clear them by clicking on the button above them.
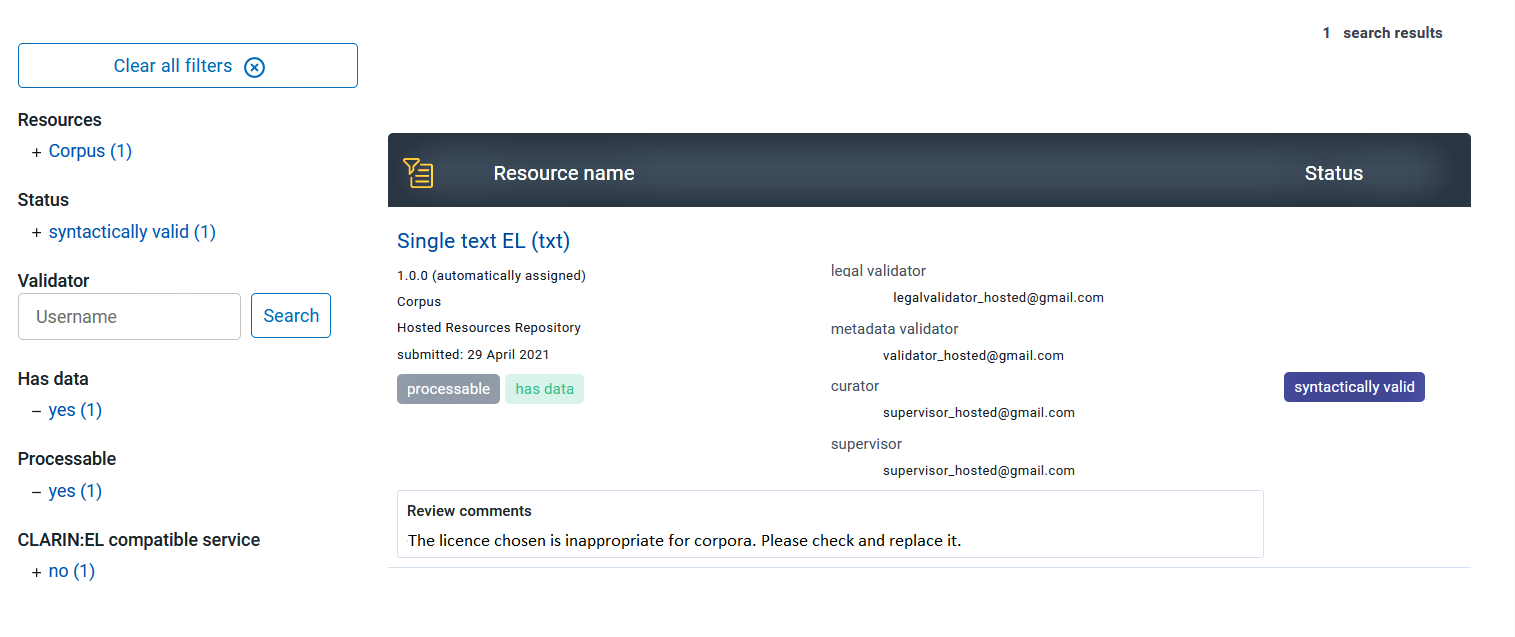
As you can see, each resource occupies a row separated in three columns:
the first, provides some basic information on the resource,
the second, presents the names of the curator, supervisor and validators, and
the third is the resource status. The information whether the resource is legally/metadata valid also appears here.
In addition, there is a box with the comments the validator has made, if any. See here how you can validate a resource.
9. My repository
Attention
This section is visible only to supervisors.
This section, contains all the resources of your repository, independently of who has created them. Remember, that, if you want to see the resources you have created, you must click on my resources.
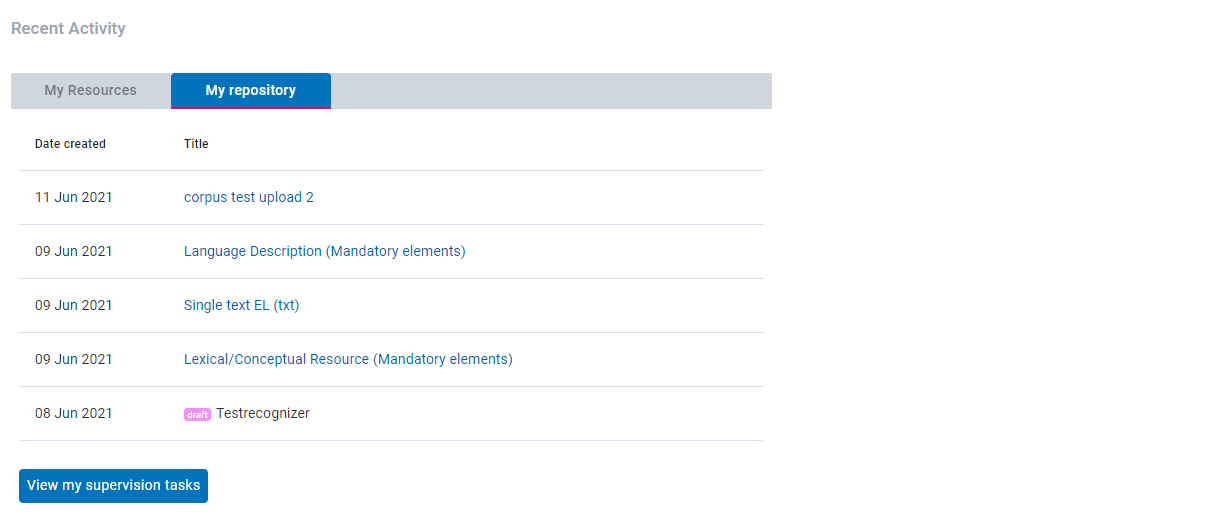
You can either select a resource by clicking on its name or, if you wish to have an overview of all the resources in your repository, you can click on View my supervision tasks. In this page, on the left, there are filters to help you sort out the resources depending on their type, status, data etc. You can apply as many filters as you like and then clear them by clicking on the button above them. The image below shows only the resources for which a validator must be assigned (based on the relevant filter).
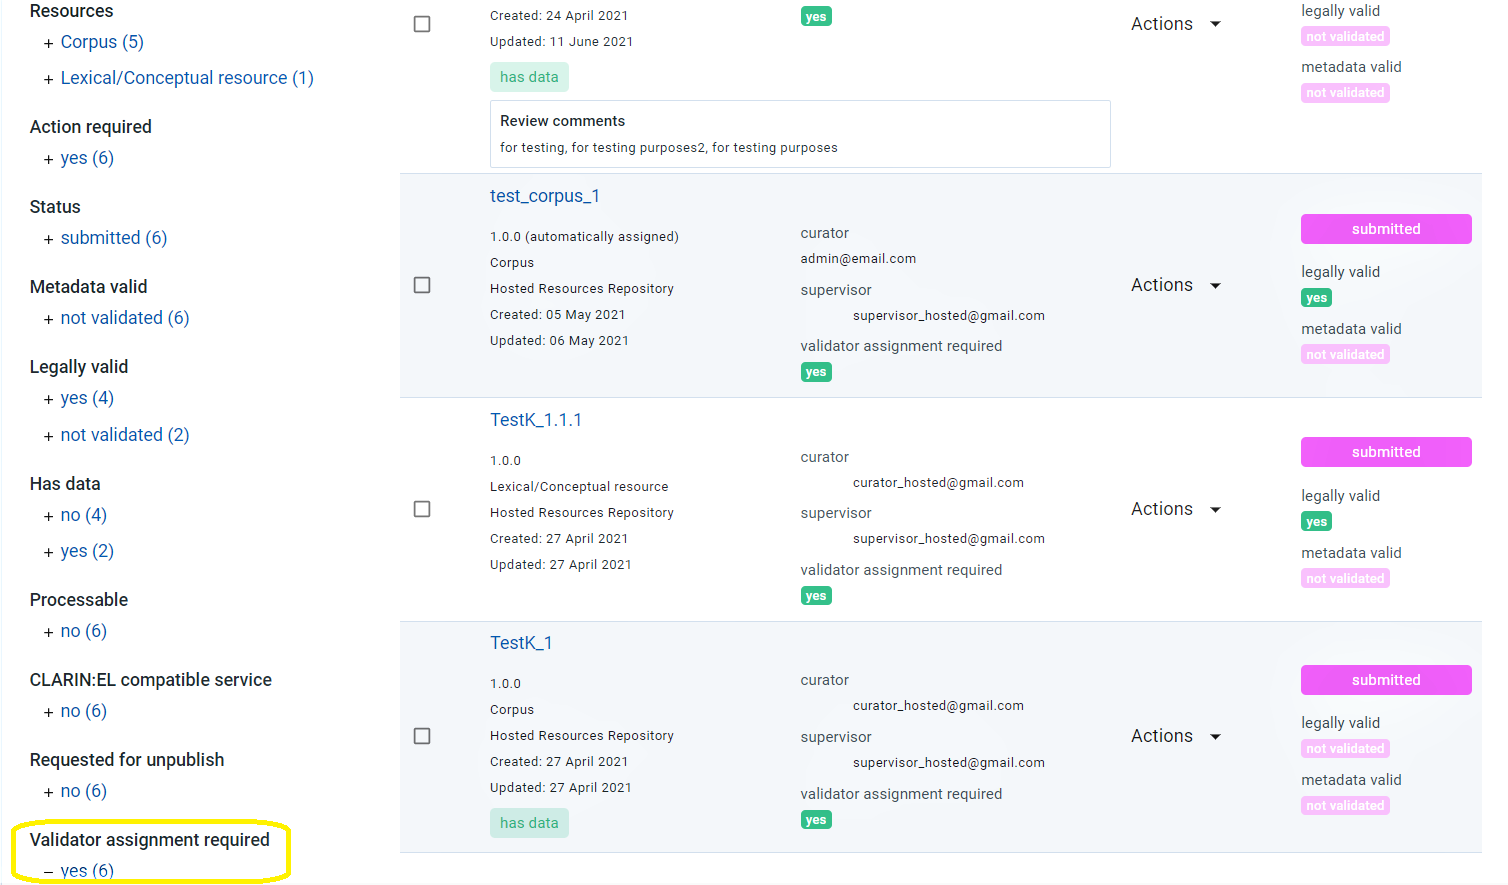
As you can see, each resource occupies a row separated in four columns:
the first, provides some basic information,
the second, presents the names of the curator, supervisor and validator (if the resource has been validated),
the third, has a button for the available actions, and
the fourth is the resource status, along with information on whether it has been validated or not.
To learn more about the actions you can perform on a resource see here.
Help
This link directs you to the infrastructure manual where information is documented about resources, users, rights and processes. You can search for a specific issue of interest using the search box or go through the various chapters and sections.
Exit
If you no longer want to be signed in, you can log out by clicking on this icon.