How to create a resource by uploading an XML file
You can create any type of resource by uploading an XML file with at least the mandatory metadata.
Attention
This section is dedicated to the basic steps you must take to create a resource by XML upload. Although the example showcases how a corpus is created, the steps (except indicated otherwise) are common for all LRTs. See here specific XML files describing different types of resources.
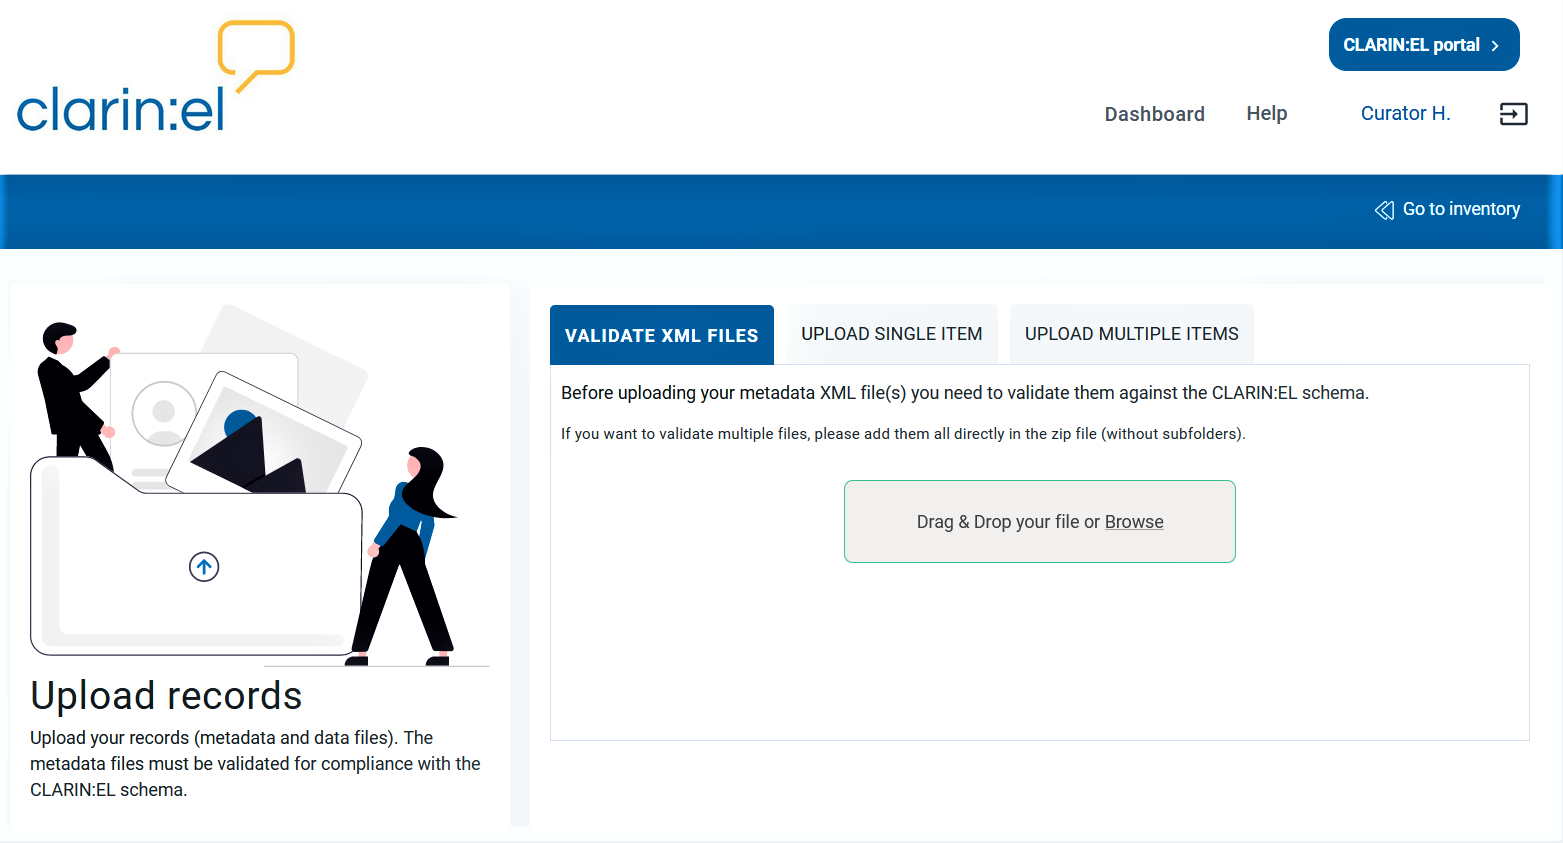
In order to upload an XML you must be signed in. If so, visit your dashboard and click on upload resources. In the new window, you are presented with three tabs, as shown in the image below.
First you must validate your XML description file, i.e. you must upload it to be checked. Although you can skip that step, it’s highly recommended and it will save you time; the validation shows inconsistencies or missing metadata, as in the image below.
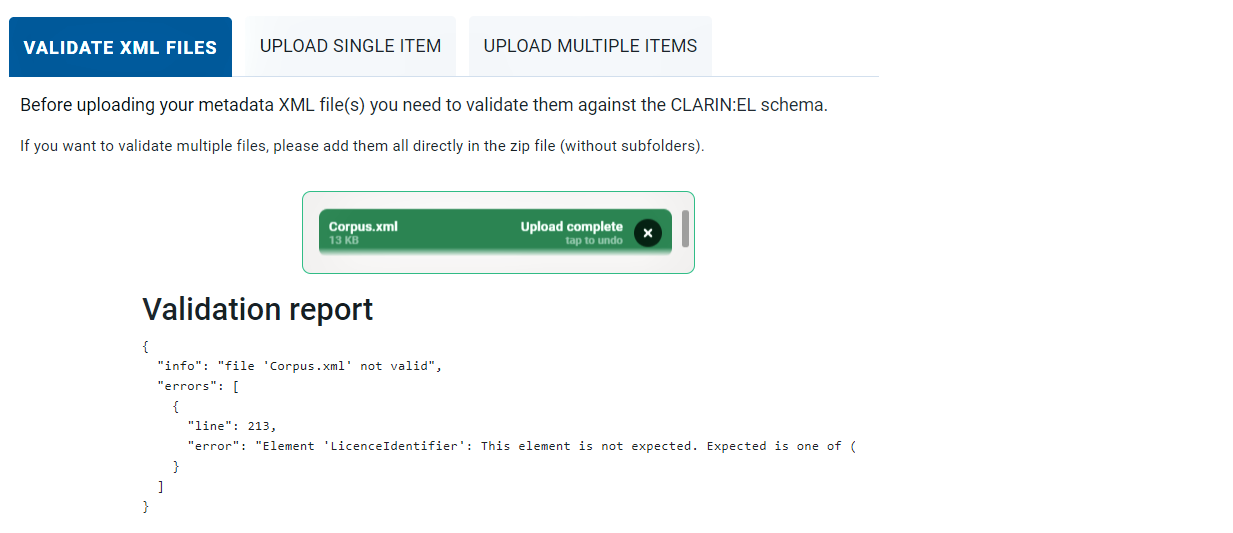
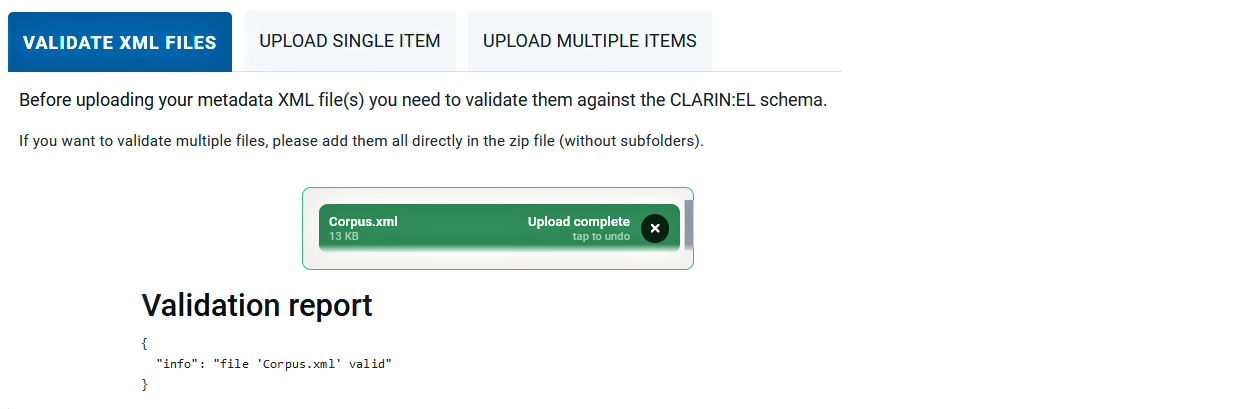
Once you have corrected them, try to validate the file again. If everything is as it should be you will be notified that the xml file is valid.
Then, you can proceed to the next tab to successfully upload your file. If your resource falls into one of the following categories 1 you must click the appropriate box before uploading the XML file.

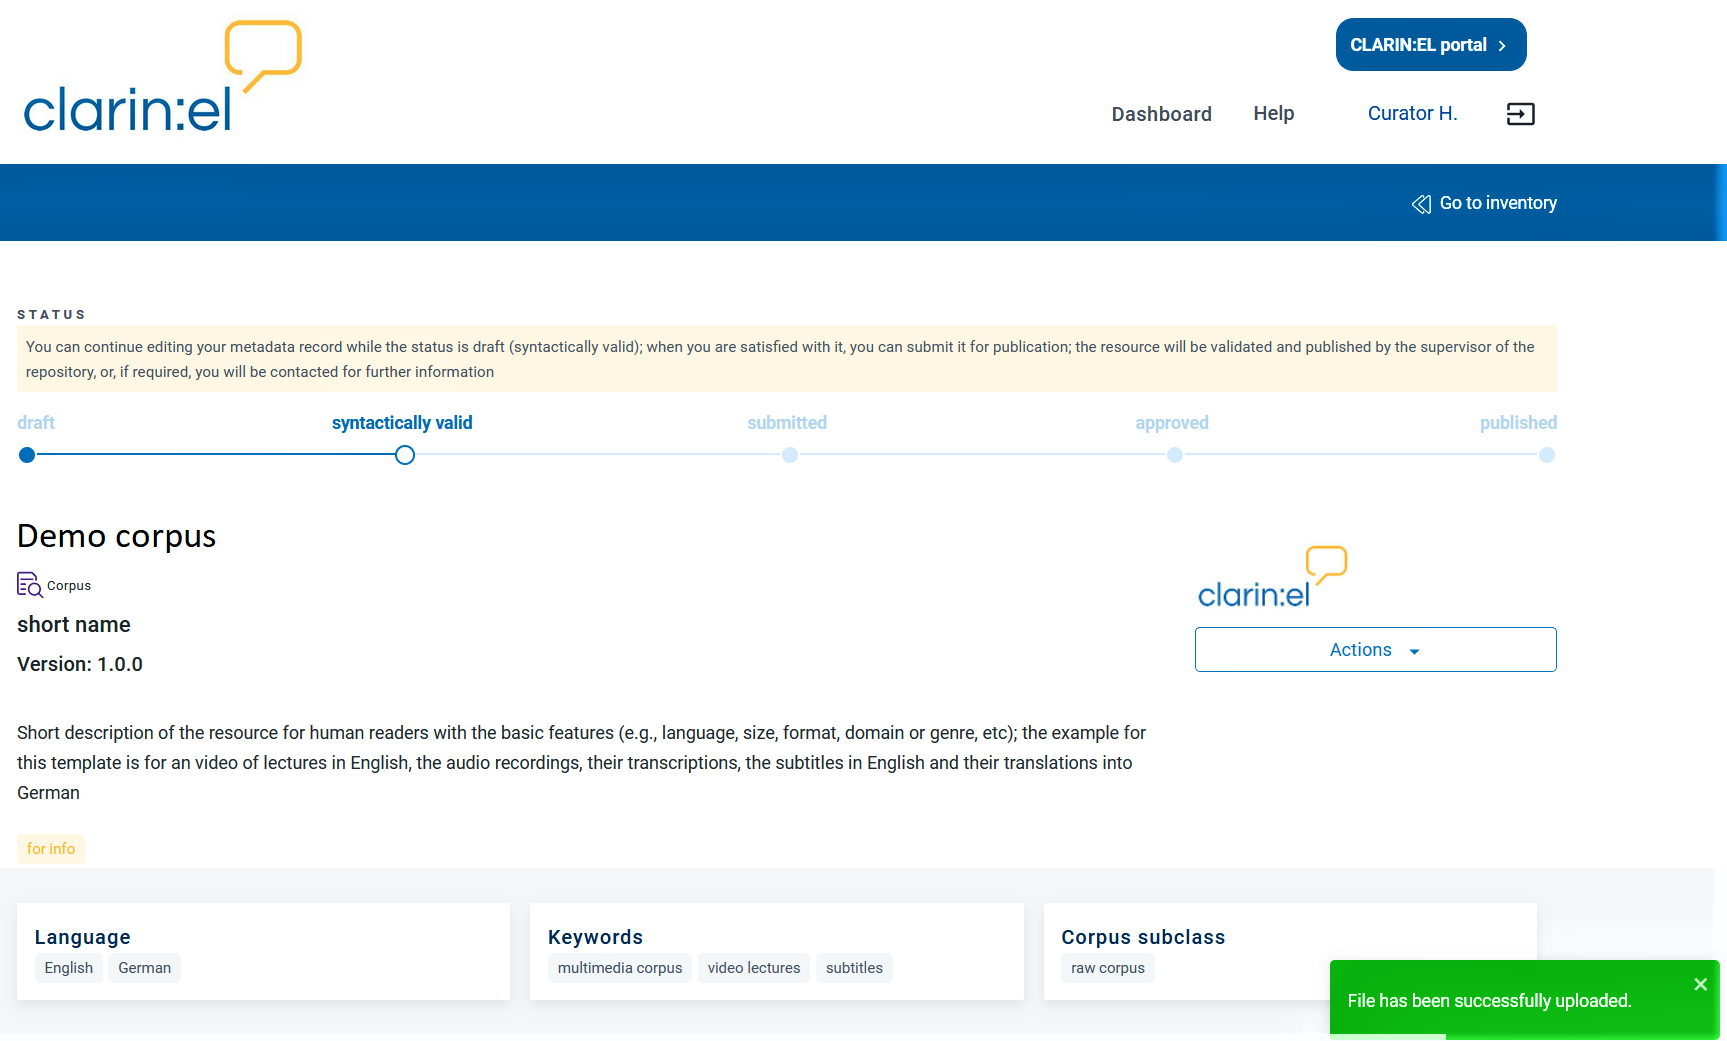
You will be informed that the process has been successfully completed and you will be transferred to the resource view page.